How to Sight in a Rifle Scope for 100 Yards?
No matter your level of experience or sporting or hunting background, sighting your rifle scope at 100 yards is a basic step to accuracy and ensuring precise shots. Not only is 100 yards an effective standard for sighting in and sighting your scope sight range; it is also among the more prevalent sighting ranges used by sporting rifle and hunting rifle producers.
This article will walk you through each step on how to sight in rifle scope for 100 yards, making you feel confident in shooting accurately with each shot.
Part 1. Why Sight a Rifle Scope at 100 Yards?
The 100-yard range is one of the most popular ranges used for sighting rifles both for hunting and for shooting sports with practical as well as standardized benefits. The following are the principal reasons why 100 yards is the most popular:
1. Simpler Ballistic Drop Calculation and Adjustment
Sighting at 100 yards allows a bullet flight with little outside interference, which makes it easier for shooters to track and compensate for bullet drop.
Most ballistic computers and scope devices default to 100 yards as the sighting point, with progressively more accurate compensation at longer ranges such as 200 or 300 yards and out.
2. Ideal for Short to Mid Range Shooting and Hunting.
For common medium-sized game such as deer, wild boar, or coyotes, 100 yards is a typical engagement distance.
Sighting your scope at this range covers the majority of short- to mid-range hunting scenarios without requiring frequent point-of-aim adjustments.
3. Specifically Designed to Accommodate Scope Adjustment Units (MOA, MRAD).
Scopes are typically designed to provide maximum accessibility at 100 yards:
- At 100 yards, 1 MOA equals 1.047 inches.
Each click of the turret adjusts the point of impact by approximately an inch, making fine-tuning both accurate and user-friendly.
At longer distances, more variables affect a bullet’s path, making adjustments more complex and challenging to make.
4. Matches Standard Shooting Range Setups
Globally, especially in North America, almost all standard shooting ranges feature 100-yard targets. Many even offer specially designed 100-yard targets.
sighting at 100 yards provides an efficient and repeatable standard, perfect for training sessions, competition preparations or hunting trips.
5. Establishes a Strong Basis for Data Collection
Establishing 100 yards as your baseline distance helps ensure accurate data is gathered for ballistic compensation over long distances.
Shooters frequently keep a log of deviations at 200, 300 and 400 yards from their 100-yard sight point to generate personalized ballistic charts to increase long-range accuracy.
Part 2. What You’ll Need Before Sighting in Your Scope?
Before beginning to sight in your rifle scope, ensure you have collected the following tools and equipment to facilitate an efficient and precise sighting process:
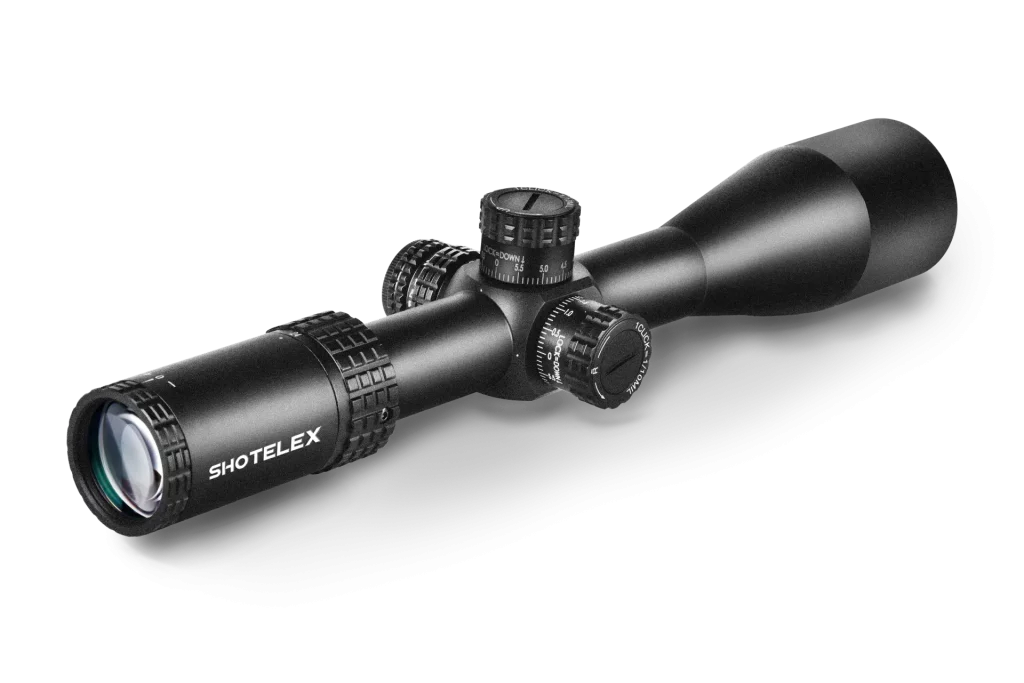
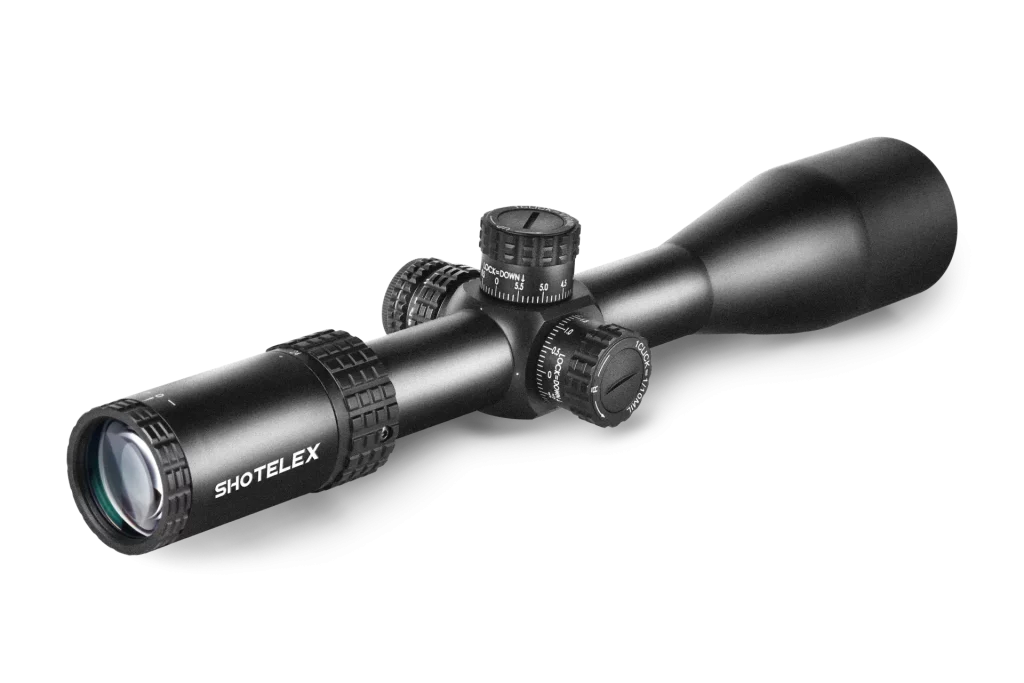
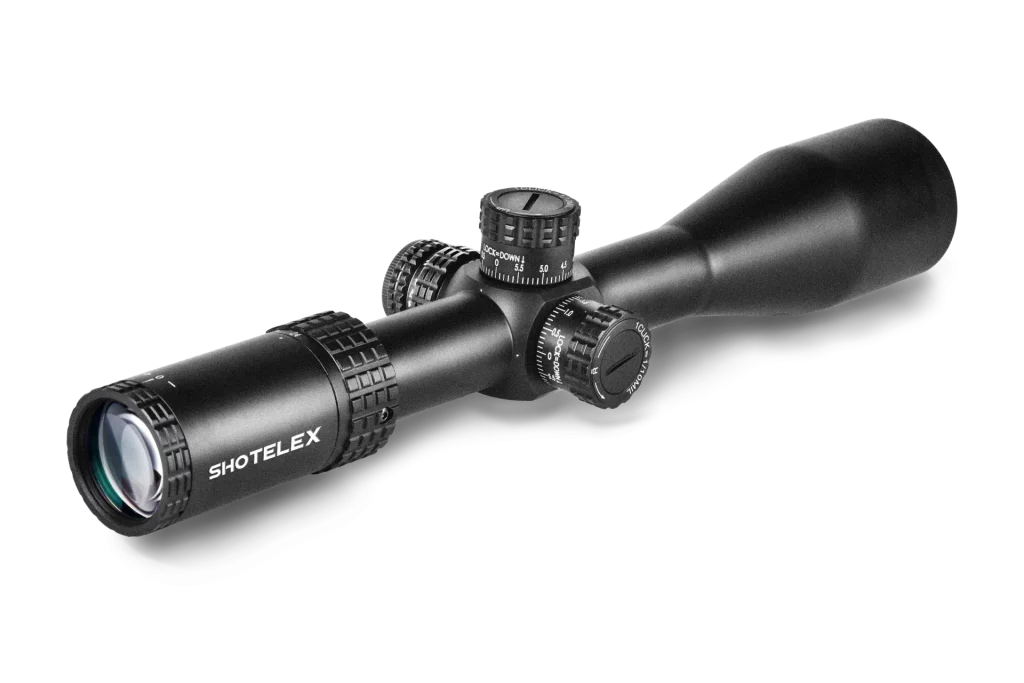
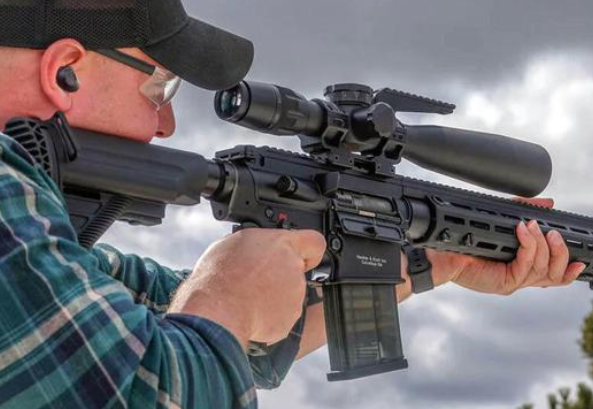
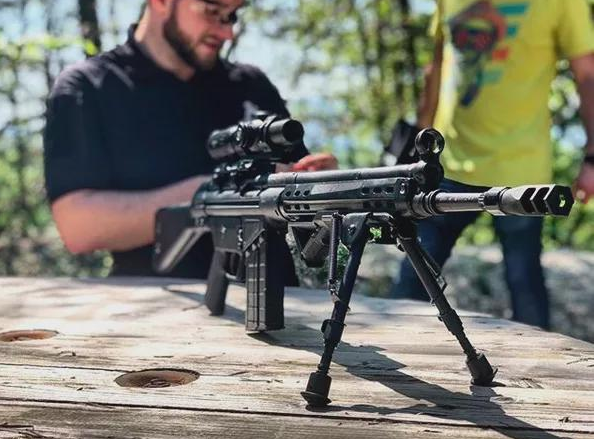
Rifle With Mounted Scope: Your rifle should already have a securely installed scope that has all screws tightened and level. Check to make sure all are tightened properly so you’re safe to shoot!
Paper Targets or Steel Plates: Use clear, high-contrast targets with an easily discernible center point to track bullet holes and group accuracy more precisely. Paper targets are ideal for tracking bullet holes while steel plates allow you to assess grouping accuracy more easily.
Shooting Rest, Sandbags or Bipod: Establishing a sturdy shooting platform is of vital importance when shooting. Use shooting rests, front and rear sandbags or bipods to limit movement while shooting each shot.
Rangefinder or Pre-measured Shooting Range: For optimal accuracy, it is necessary to confirm that your target is exactly 100 yards away. A rangefinder or professionally marked shooting range are essential tools in achieving this task.
Adjustment Tools: For your scope, be sure to bring along tools for windage and elevation adjustments – such as turret caps, scope tools or coins in case your scope has capped lenses.
Spotting Scope or Binoculars: To avoid walking to your target after every shot, use a spotting scope or binoculars with 100 yard visibility to clearly view bullet impacts at 100 yards. Part 4. Scope Adjustment Basics: Understanding MOA and Turrets
Part 3. Scope Adjustment Basics: Understanding MOA and Turrets
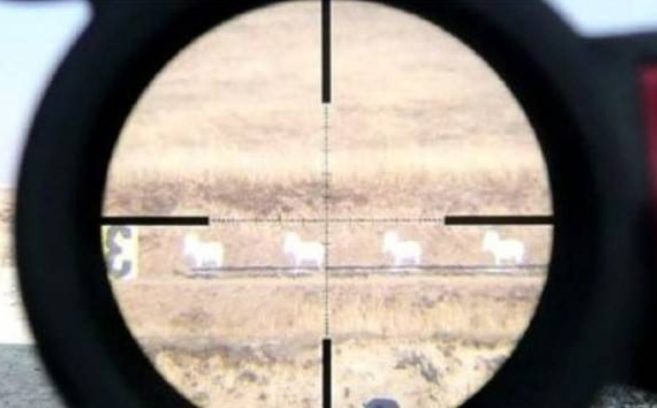
Most rifle scopes use MOA (Minute of Angle) as the standard unit of adjustment, at 100 yards one MOA equals approximately 1 inch in target movement.
For exmaple, if your scope’s adjustment increment is 0.25 MOA per click, each click moves the point of impact by 0.25 inches at 100 yards – to move your shot group by an inch requires four clicks on the turret.
Turret Functions:
- Windage (Side Turret): Adjusts the horizontal aim (left or right)
- Elevation (Top Turret): Adjusts the vertical aim (up or down)
Important Rule:
“Move the reticle to follow the bullet.”
If your shots are hitting low and to the left, you’ll need to adjust up and right—moving the crosshairs toward the impact point to bring your shots on target.
Part 4. How to Sight In a Rifle Scope for 100 Yards?
Sighting in your rifle scope at 100 yards ensures that your point of aim matches your point of impact, crucial for accuracy whether you’re hunting or target shooting. Here’s a practical and detailed walkthrough to help you get on target efficiently.
Step 1: Begin at 25 Yards for Quick Alignment
It’s more efficient to begin at 25 yards instead of jumping straight to 100. This helps you quickly correct major misalignments and saves ammunition.
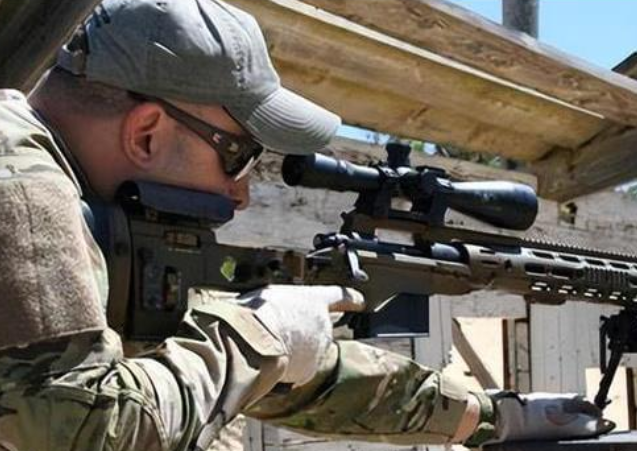
- Secure your rifle using a stable shooting rest, bipod, or sandbags.
- Aim at the center of a 25-yard target and fire a 3-shot group.
- Check the shot placement using a spotting scope or by walking to the target.
- Determine the group center and adjust your scope’s windage and elevation knobs to bring the reticle toward the bullet holes.
- Fire another group to confirm you’re close to center before moving to 100 yards.
Step 2: Sight In at 100 Yards
Once you’re close at 25 yards, set up for the full 100-yard sight-in.
1. Place your target exactly 100 yards away, using a rangefinder or verified shooting lane.
2. Fire a 3-shot group, aiming carefully at the bullseye.
3. Measure the distance from your shot group to the center of the target (e.g., 2 inches low, 3 inches right).
4.Calculate the adjustment based on your scope’s click value (e.g., 0.25 MOA per click = 0.25 inches at 100 yards):
- 2 inches low ➜ 8 clicks up
- 3 inches right ➜ 12 clicks left
5. Adjust your turrets accordingly, then fire another group.
6. Repeat the process—fire, check, adjust—until your bullets consistently hit the center.
Step 3: Confirm Your Final Sight-In
- Fire a final 3- to 5-shot group to ensure consistent hits in the bullseye.
- Check that your shots are not only centered but tightly grouped.
- If the group is slightly off but tight, make fine-tune adjustments.
- If your shots are scattered, reassess your shooting fundamentals (trigger pull, breathing, rifle stability), and check if the scope or mount is loose.
Pro Tip:
Once sighted in, record your scope settings or mark your turret positions. This gives you a reliable reference for future shooting sessions or when switching between ammo types.
Extra Tips to Improve Your Accuracy
To get the best results when sighting in your rifle scope at 100 yards, consider these small but effective tips:
1. Use Consistent Ammunition
Stick to the same brand, grain, and batch of ammo. Variations between manufacturers—or even different production lots—can affect ballistic performance and shift your point of impact.
2. Let the Barrel Cool Between Groups
Heat from repeated shots can cause the barrel to expand slightly, leading to inconsistent accuracy. Allow your barrel to cool down between shot groups for more reliable results.
3. Pay Attention to Grip and Breathing
Maintain a steady, relaxed shooting posture. Gently squeeze the trigger—don’t jerk it—to prevent movement that throws off your shot. Control your breathing and shoot during the natural pause between breaths.
4. Check Your Group After Every Round
Use a spotting scope or walk to your target to examine shot placement after each group. This helps you make accurate adjustments and avoid misjudging your point of impact.
Part 5. Common Problems and How to Fix Them
During the sight-in process, especially at 100 yards, it’s common to encounter issues that affect accuracy. Here are a few typical problems, their likely causes, and practical solutions:
| Problem | Possible Cause | Solution |
| Bullets are completely off the target | The scope is significantly misaligned, possibly after mounting or transportation. | Start at a closer distance (e.g., 25 yards) to get on paper. Use a bore sighter to roughly align the scope before shooting. |
| Shot group is widely scattered | Barrel overheating, inconsistent shooting form, or loose support. | Allow the barrel to cool between groups. Check that your shooting rest or bipod is stable, and ensure your grip, trigger control, and breathing are consistent. |
| Scope turrets won’t adjust enough | The scope is improperly mounted, or the adjustment mechanism is faulty. | Inspect the scope rings and mounting base for tightness and alignment. If turrets are maxed out or unresponsive, you may need to re-level or replace the scope. |
Bonus Tip:
If you find it hard to diagnose the issue yourself, have a more experienced shooter observe your technique—or try shooting with another known-accurate rifle to rule out mechanical issues.
Wrap Up
Sighting in at 100 yards with their rifle scope is a basic skill that must be mastered by all shooting enthusiasts. By understanding MOA adjustments, following sight-in procedures step by step, and standing upright when shooting patiently, you can be certain that every shot hits its mark.
Beginners should start practicing their shooting at a shooting range, while hunters must ensure their rifle has been pre-sighted in order to ensure no missed shots occur when it matters most.