What is Eye Relief on a Scope?
“Bang!” The moment the bullet left the chamber, a sharp, burning pain suddenly shot through your eyes – as if your eyes were being “bounced” out by the recoil force, leaving a clear red mark on your brow bone. Rubbing the aching eyes and looking at the scope again, the edge of the field of vision seemed to have been smeared with ink, and the black circle was blurry as if looking at a tunnel. I held my breath and aimed for ten seconds, but the bullet was off course…
If these scenes make you nod frequently, don’t rush to doubt the technology or the quality of the scope – there’s a 90% chance that eye relief is at work behind the scenes! As the “mastermind” behind the shooting experience, the distance of the eye point not only determines whether you can see the target clearly, but is also directly related to safety and accuracy. Today, I’ll take you through a thorough dissection of this overlooked core element, transforming you from a “wounded shooter” to a “precise player”.
What is Eye Relief?
Simply speaking, “eye relief” is the “golden distance” from the eye to the rear surface of the eyepiece of the sight. Just like when watching TV, if you sit too close, you will feel dizzy; if you sit too far, you can’t even see your face clearly. Just like framing a shot with a single-lens reflex camera, you must keep your eyes close to the viewfinder to see the complete picture – in the design of the scope, an “optimal working range” (commonly 3-4 inches /76-102 millimeters) has already been preset. Only when your eyes are within this range can you see a complete field of vision without distortion or black circles, a clear and sharp aiming reticle, as well as the true details of the target and the environment.

Why is Eye Relief a “minefield that should not be stepped on”?
Pain Point 1: Security Alerts! The “mirror eye injury” crisis under recoil
When the eyes are too close to the eyepiece, the moment the rifle is reclined, the eyepiece will “crash” into the face at an astonishing speed – at the very least, it will leave bruise and scratch the eyelid; at worst, it will cause a fracture of the eyebrow bone, retinal shock, and even permanent vision damage! This kind of damage, known as “Scope Eye”, is the primary risk that all shooters must avoid.
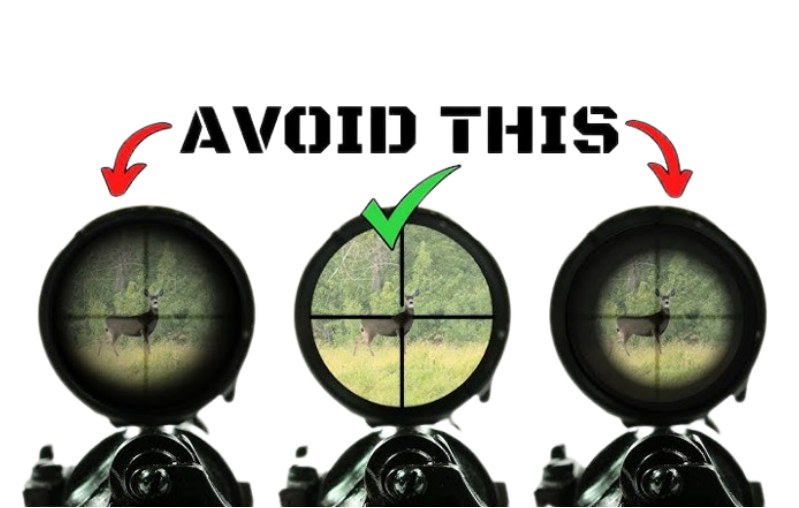
Pain Point 2: Visual Traps: Black circles, blurriness and “tunnel vision”
When the eyes are too far from the eyepiece, the edge of the field of vision will suddenly “blacken”, forming a thick black border, and the picture in the middle will also become blurry. Imagine the feeling of looking through a toilet paper roll – this is a typical symptom of “insufficient eye relief”, which directly leads to your inability to quickly lock onto the target and even miss the crucial shooting window.
Pain Point 3: Posture torture: Prone to neck pain and lower back pain
In order to find that “visible point”, you might unconsciously stretch your neck, arch your back, or even tilt your head at a strange Angle. This awkward posture not only causes rapid muscle fatigue but also leads to instability of the gun body. Not to mention accurate shooting, even maintaining it for half an hour is a problem.
Pain Point 4: Precision
Eye relief errors can change the position of the eyes relative to the reticle, resulting in a deviation between the “visual aiming point” and the “actual impact point”. You think you aim at the center, but the bullet might be slightly up or down – especially when shooting from a distance or changing positions, this error can be infinitely magnified.
Pain Point 5: Lagging response
When hunting, the target suddenly shoots out. You hurriedly raise your gun, but it takes several seconds to repeatedly adjust the position of your eyes to see the scope clearly – by the time you find the “sweet spot”, the prey has already disappeared without a trace. In scenarios that require rapid response, improper setting of eye relief is the beginning of a “fatal mistake”.
5 Steps to Find your “Eye Relief Comfort Zone”
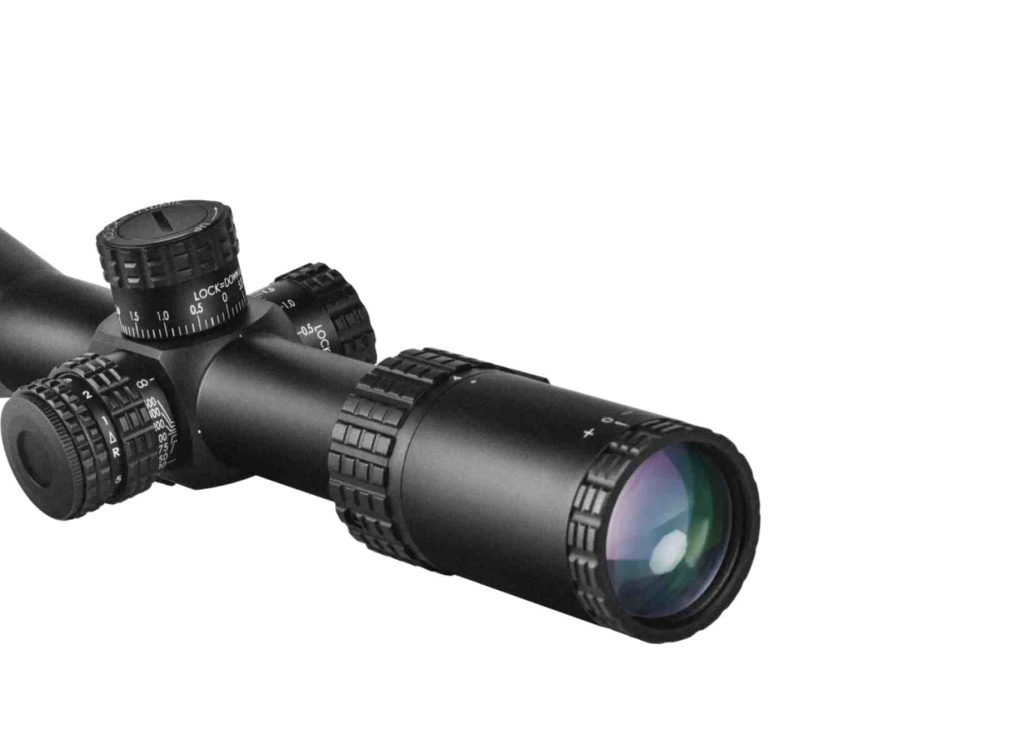
Step 1: Master the scope parameters thoroughly – First read the “official manual”
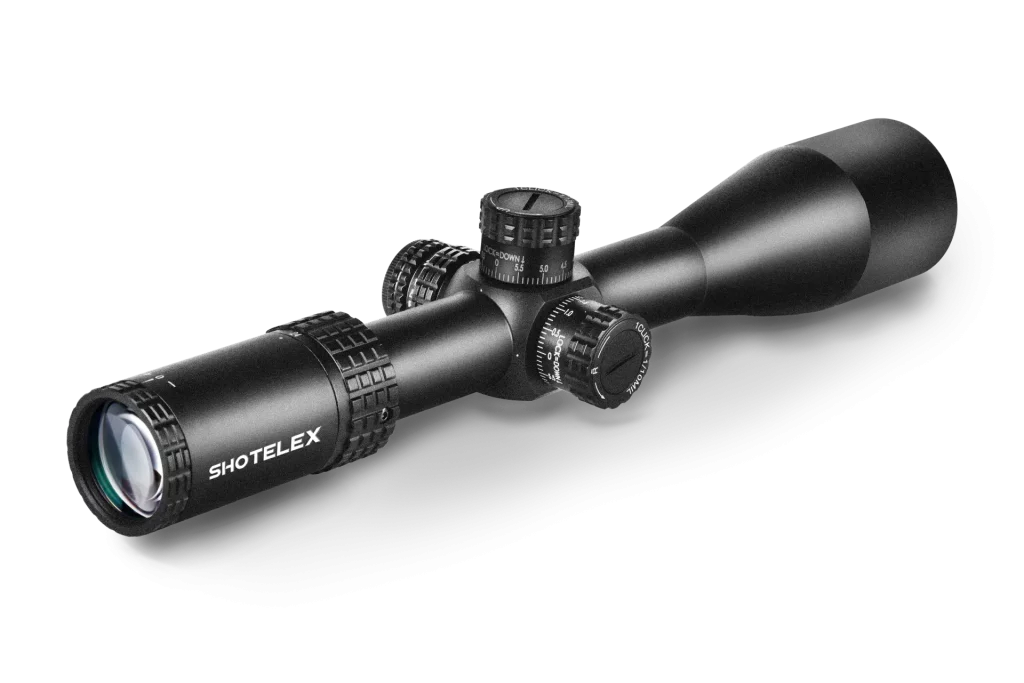
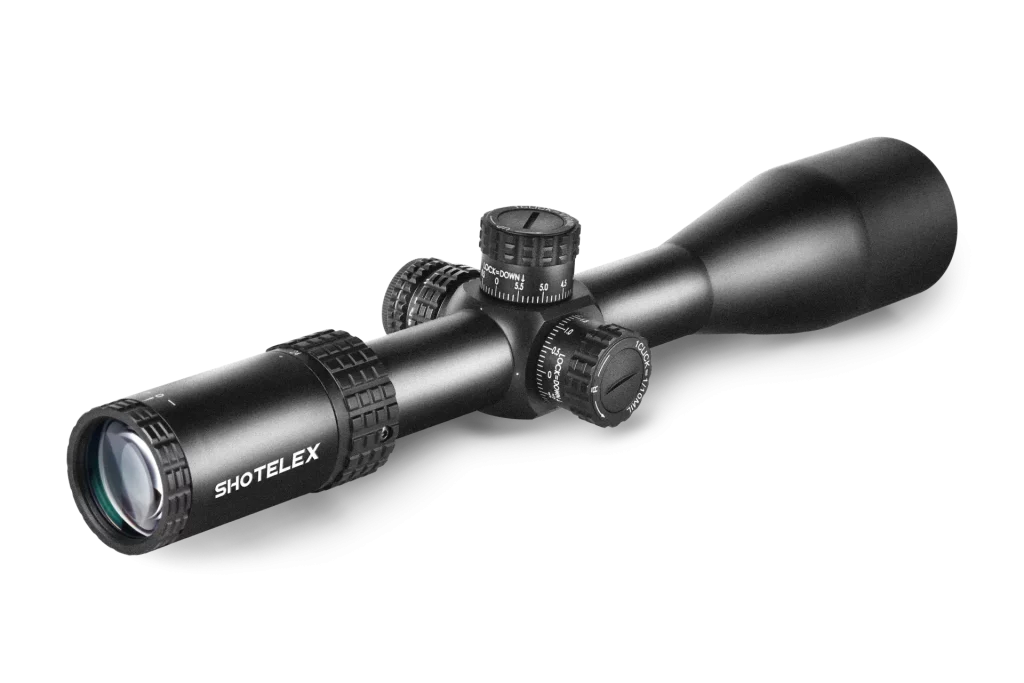
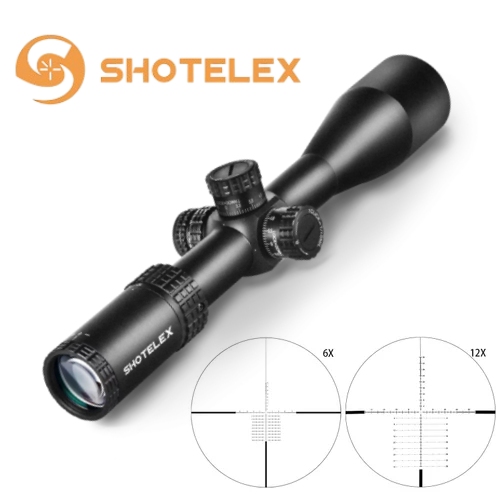
Take out your scope manual (or directly check the engraving on the lens body), and find the numerical range marked by “eye relief”. For example, the Shotelex scope is marked as “3.5-4.2 inches“, and this is the basic basis for your adjustment.
Step 2: Initial Installation – Leave sufficient adjustment space for the lens body
Gently place the sight on the base and do not tighten the sight ring screws. Based on the middle value of the parameter range, initially position: for example, 3-4 inches. First, slide the lens body to the 3.5-inch position to leave some margin for subsequent fine-tuning.
Step 3: Closing eyes – Opening Eyes Method – Precisely capture “momentary clarity”
1. Standard position positioning: Rest your shoulder against the gun in the most natural way, keep your head relaxed and against the stock, and avoid deliberately leaning forward or backward.
2. Close your eyes – Reset state: Gently close your eyes and hold the gun position for 10 seconds to allow the muscle memory to “forget” the previous awkward position.
3. Eye-opening verification: Suddenly open the aiming eye – if the field of vision is clear without black circles and the reticle is centered, congratulations! You’ve found it! If a black circle appears (too far away), slide the scope backward. If you feel that the eyepiece is “above the eye” (too close), slide the sight forward. Keep adjusting until you can get a perfect view the moment you open your eyes.
Step 4: Tightening and Verification – The “Cross Rule”
After finding the best position, use a screwdriver to gradually tighten the mirror ring screws in a cross order. After completion, repeat the shoulder-pressing – eye-opening test to ensure that the field of vision remains perfect. You can even simulate shooting in an empty cabin to feel whether the distance between the eyepiece and the eyes is safe when sitting back.
Step 5: Advanced Optimization – Adapt to firearms, postures and personal habits
- Recoil of firearms: For large-caliber rifles, it is recommended to choose eye relief scopes larger than 4 inches to reserve more safety buffers;
- Shooting posture: The head position may be different when standing or lying down. It is recommended to adjust with the common posture first, or use an adjustable chin rest.
- Personal differences: People who wear glasses usually need to add about 0.5 inches of eye relief, and those with wider faces may need to fine-tune the Angle of the glasses.
How To Select The Appropriate Eye Relief Parameters?
- Core principle: Recoil determines the “safety bottom line”
For weapons with high recoil (shotguns, Magnum rifles), a fixed eye relief sight of more than 4 inches must be selected. For small-caliber firearms, the eye relief 3-3.5 inch model can be chosen, but it is still necessary to ensure a natural posture.
- The “hidden Trap” of the zoom scope
The eye relief of a zoom lens varies with magnification: the eye relief is longer at low magnification and shorter at high magnification. Be sure to check whether eye relief is sufficient at the highest magnification to avoid errors when aiming at high magnification.
- The “essential configuration” for quickly targeting scenarios
In scenarios such as CQB and moving target hunting, models with a wide eye relief range and high fault tolerance rate should be given priority to reduce the fluctuations in the field of vision caused by posture changes.
Conclusion
Eye relief is not a dull technical parameter, but a “golden bridge” connecting safety and accuracy. When you master the correct adjustment method, you no longer need to worry about the recoating force causing your eyes to become swollen. The black circles in your field of vision will disappear. Naturally, according to the gun position, you can shoot continuously without getting tired, and the bullets can also hit exactly where they are pointed.
Act now: The next time you pick up a rifle, spend 5 minutes adjusting eye relief step by step – this might be the most cost-effective investment for you to enhance your shooting experience. If you have ever been troubled by the eye relief problem, welcome to share your story. If you want to know how Shotelex aiming at the specific types of lens adapter eyespots demand, can click here to check the professional recommendation. Remember: Only by shooting safely can you enjoy the sense of achievement of pulling the trigger every time!