Which Way To Turn When Sighting In a Rifle Scope?
When many people first come into contact with a rifle scope, they often encounter the same question: the bullet has hit the target, but it has deviated from it. What should be done next? Should the knob be turned left or right? If the direction is wrong, not only will bullets be wasted, but the landing points will also become more and more chaotic. For beginners, this is undoubtedly a headache problem.
In fact, this confusion doesn’t belong to you alone. Even people with some shooting experience may make mistakes when switching to different brands of scopes due to different markings. Therefore, understanding the regulation principle and mastering the correct method are the keys to solving the problem.
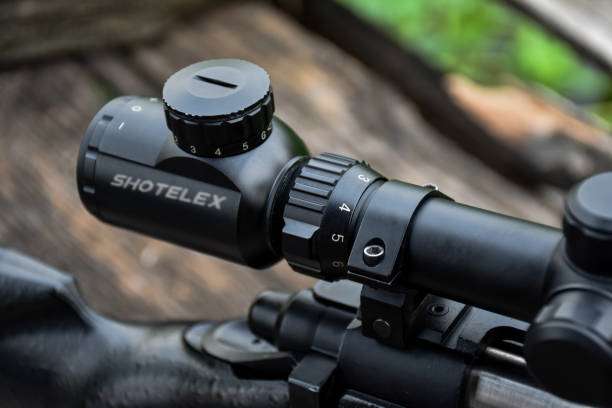
Why Can’t You Figure Out Which Direction To Turn?
The reason for such hesitation is mainly that many people subconsciously think that turning the knob is changing the direction of the muzzle. So, when seeing the bullet deviating to the left, one might instinctively think that the knob should be turned to the left, but the result is that the bullet lands even further away from the center.
What’s more complicated is that the markings on scopes of different brands and models may vary. Some use U/D, L/R, while others may use arrows or abbreviations. Even the direction descriptions of some imported products are contrary to domestic customs. All of these can easily throw beginners into confusion.
The Basic Principle Of Scope Adjustment
To truly solve the problem, it is necessary to first understand the core principle of the scope adjustment: the knob controls the position where the bullet lands on the target, rather than directly moving the muzzle.
There are usually two knobs on the scope:
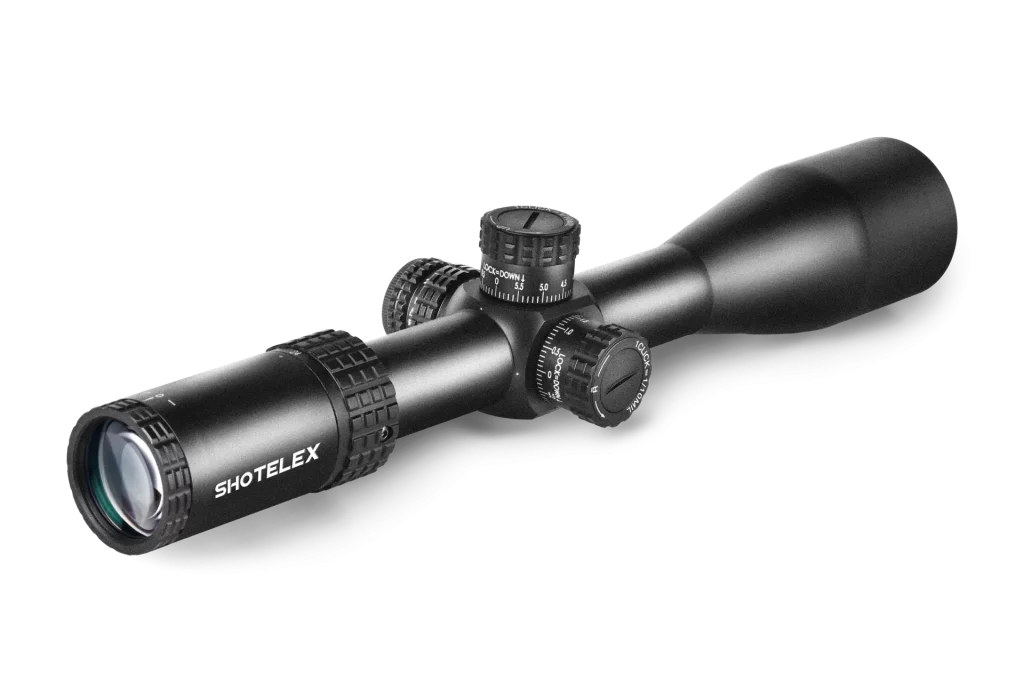
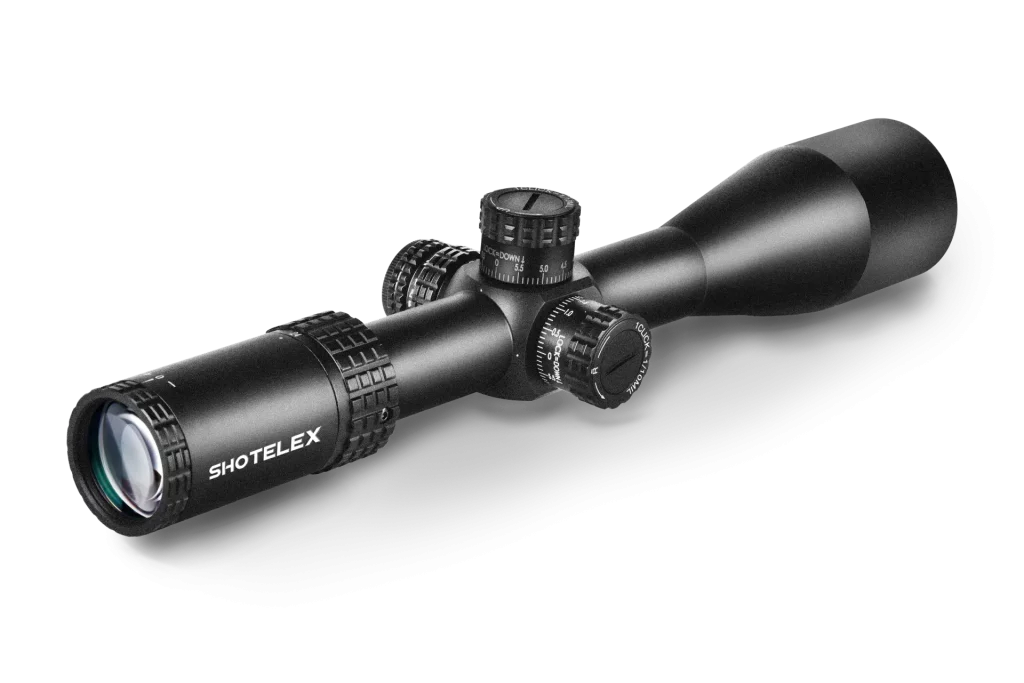
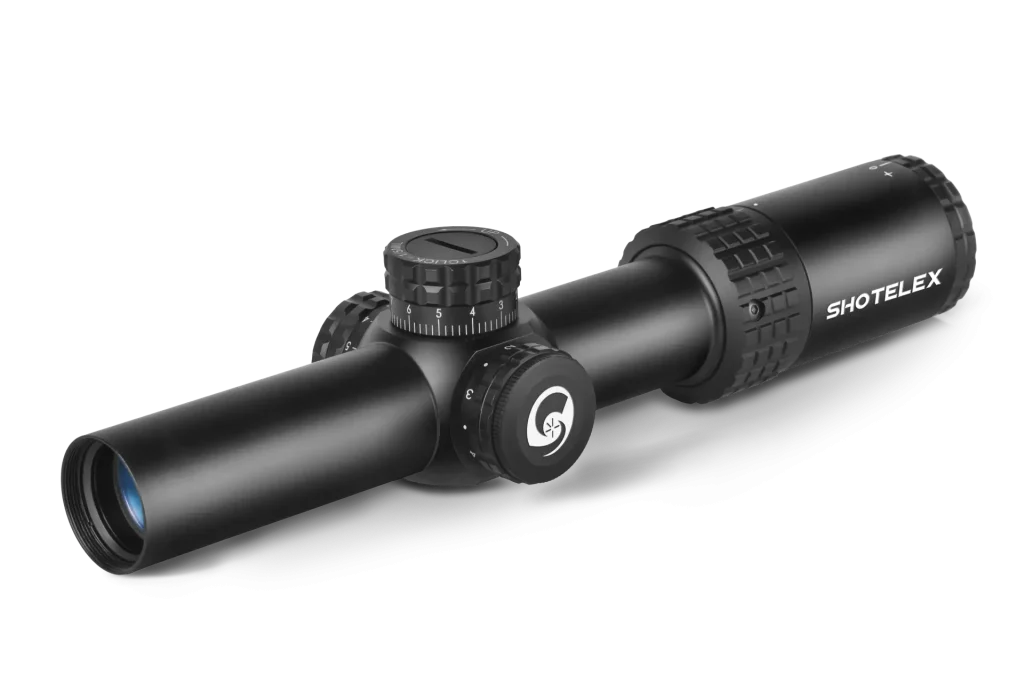
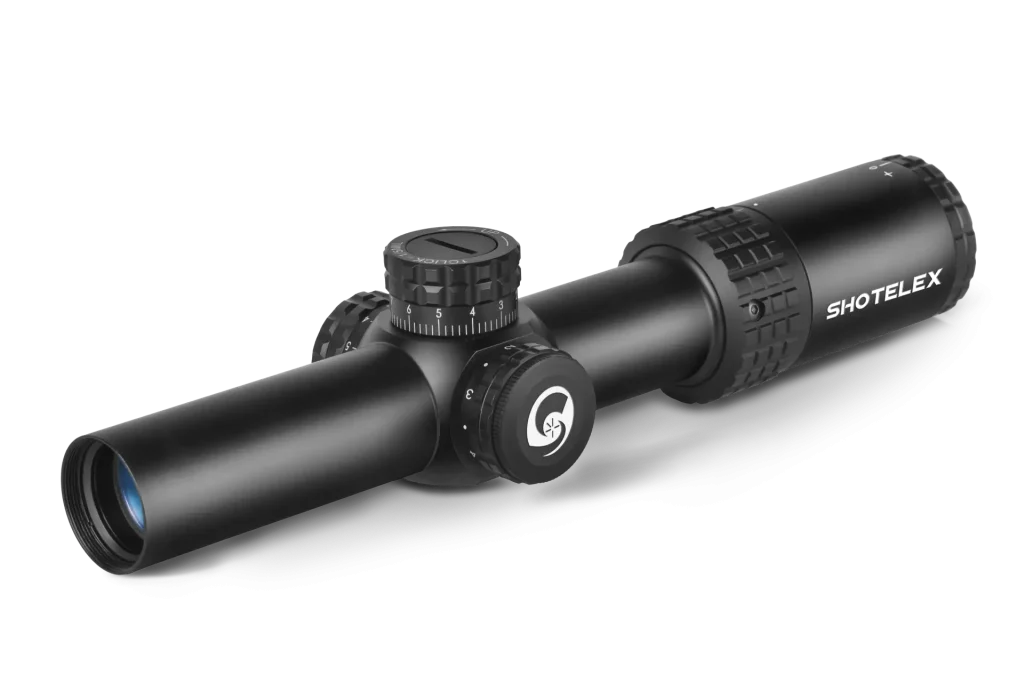
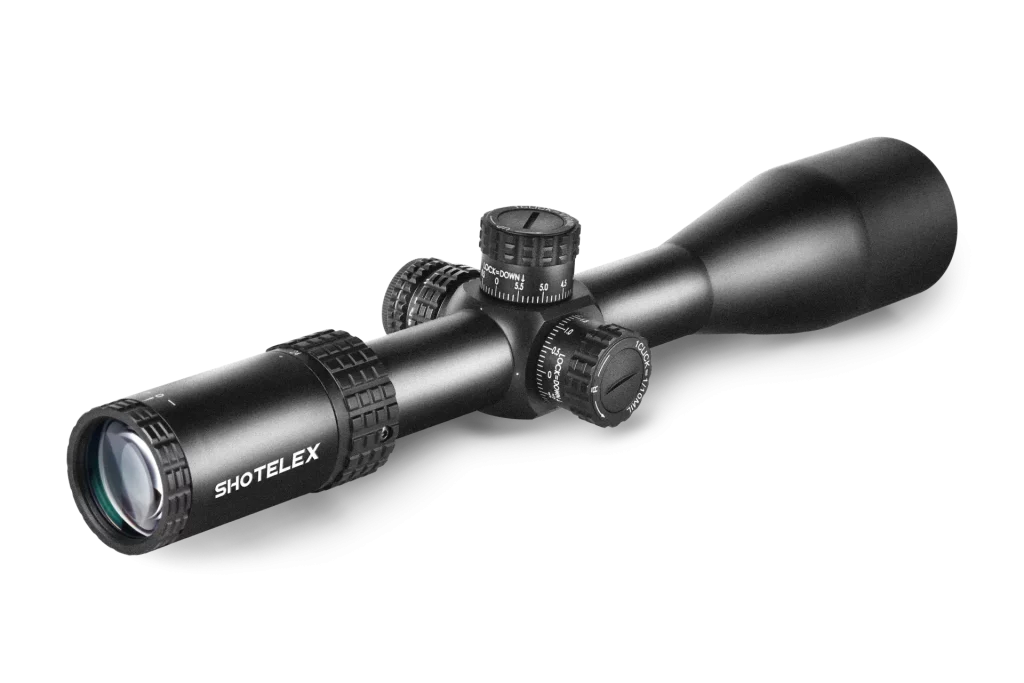
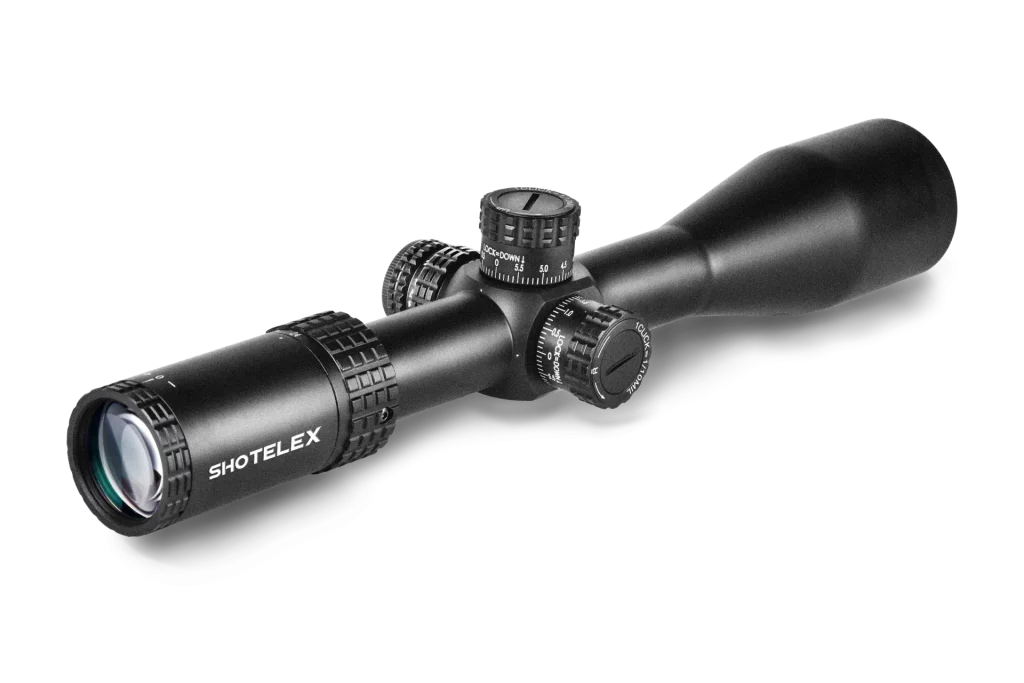
Up and down knobs (Elevation) : Control the height at which the bullet lands. If the bullet hits too low, adjust it in the “U” direction to move the bullet’s landing point upwards.
Left and right knobs (Windage) : Control the left and right of the bullet’s landing point. If the bullet veers to the left, adjust it towards the “R” direction to move the landing point to the right.
In other words, the mark on the knob indicates the direction in which the bullet will land. As long as you keep this in mind, you will no longer be misled.
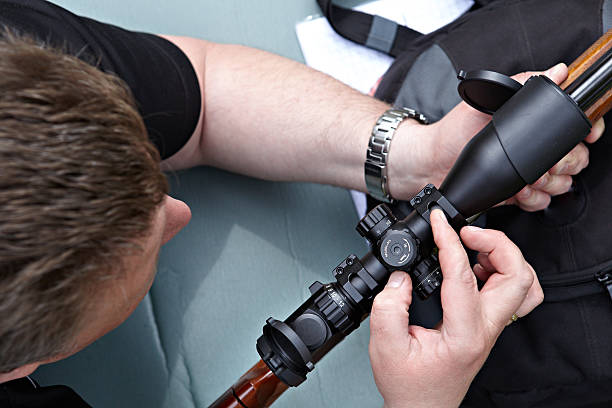
How To Understand The Knob Markings On a Rifle Sight?
The common knob markings are:
- U/D: Up (up), Down (down), indicating that the bullet’s landing point moves up or down.
- L/R: Left (left), Right (right), indicating that the bullet’s landing point moves left or right.
For instance:
If the bullet you fire lands too low, twist it in the “U” direction, and the bullet will gradually rise. If the landing point is on the right side of the target, adjust it towards the “L” direction to move the bullet to the left.
Some scopes have an arrow mark attached to the knob, and this arrow usually points in the direction of the landing point’s movement. However, when actually using it, it is best to first check the manual to confirm the meaning of the labels and avoid misunderstandings caused by model differences.
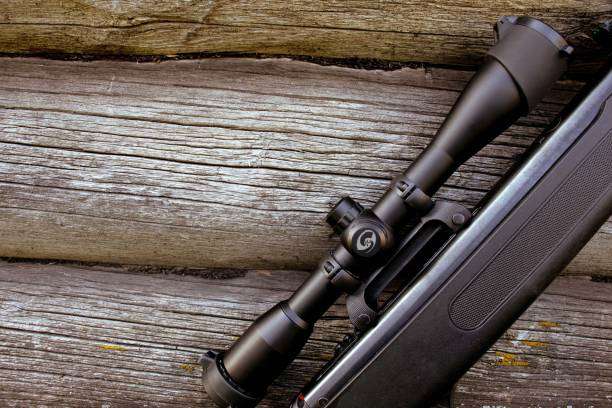
Steps Of Adjusting Direction For Your Scope
When you actually start calibrating the scope, you can follow the process below:
Fixed rifle
Use a gun holder or support to keep the gun body as stable as possible and reduce errors caused by human shaking.
Test launch first
Fire three to five rounds in a row and observe the average landing point of the bullets instead of just looking at the result of one round. This can more accurately reflect the actual deviation.
Judgment bias
Make sure to check whether the bullet is left or right, higher or lower, and determine the direction that needs to be adjusted.
Fine-tuning knob
Adjust slowly according to the markings on the knob. Adjust three to four clicks each time. Don’t turn too many at once.
Another test launch
Fire another set of bullets and check if the landing points are moving in the correct direction.
Repeated revisions
Gradually reduce the error until the bullet’s landing point coincides with the crosshairs.
This process requires patience, but as long as the correct method is mastered, the best calibration point can be found soon.
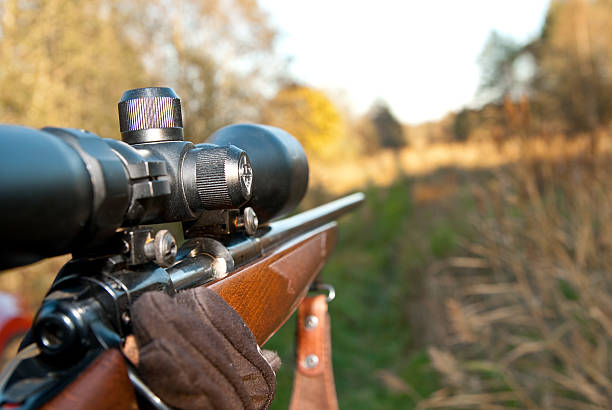
Common Misunderstandings And Tips
During the adjustment process, beginners often fall into some misunderstandings:
- Using the knob as a means to adjust the muzzle direction. In fact, what it changes is only the correspondence between the crosshair and the landing point.
- Adjusting too much at once. This can easily lead to excessive deviation of the landing point, making it even more troublesome to correct.
- Ignoring the differences in the instruction manual. Different manufacturers may have different direction markings. If not confirmed in advance, it is easy to encounter a situation where “the more you adjust, the more chaotic it becomes”.
To complete calibration more quickly and accurately, you can try the following methods:
- From near to far: First, conduct a preliminary calibration at a distance of 25 meters to reduce the deviation, then move to 50 meters and 100 meters, and gradually improve.
- Minor adjustments: Adjust only 3 to 4 clicks each time. This makes it easier to control the accuracy and determine whether the adjustments are effective.
- Keep good records: You can take notes of the adjustment results in different shooting environments so that you can find the appropriate adjustment method more quickly when encountering similar situations next time.
Familiarize yourself with the equipment: Take a photo of the manual of your scope and refer to it at any time to avoid forgetting the direction.
Final Thoughts
Once you understand the principle that the direction of the knob = the direction of the bullet’s landing point movement, adjusting the direction will no longer be confusing. Whether it’s to the left or right, up or down, you can make a clear and accurate judgment based on the actual situation of the landing point.
The process of calibrating a scope is essentially a process of continuous testing and correction. It requires patience, but it will never be complicated. As long as you master the method, you will find that the originally nerve-inducing adjustment steps will eventually turn into details that you can confidently control.

